
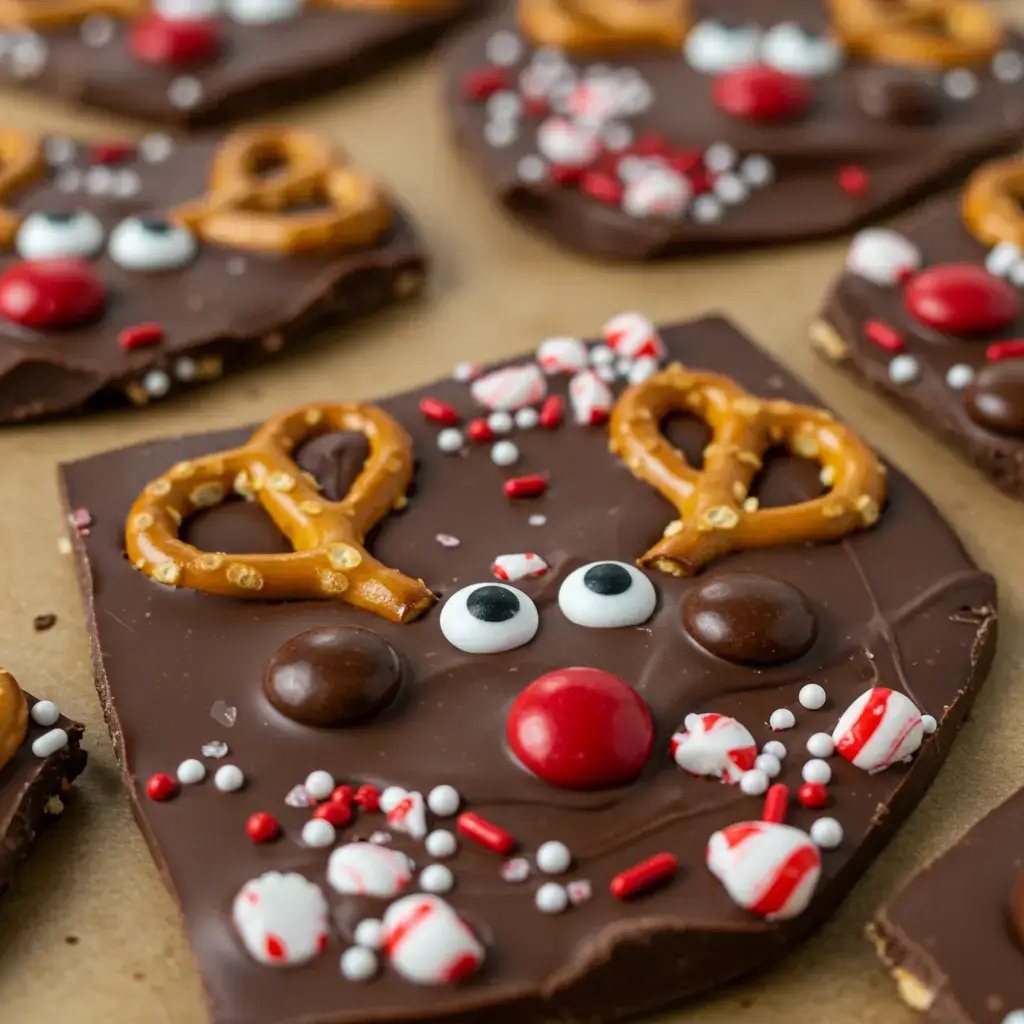

When the holiday season rolls around, kitchens everywhere transform into bustling hubs of cookie baking, cake decorating, and confection crafting. Amidst the myriad of delicious treats, one standout delight that’s both adorable and delicious is No-Bake Chocolate Reindeer Bark. This whimsical treat not only captures the spirit of the season but also delivers on flavor and charm. Whether you’re hosting a holiday party or simply want to enjoy a festive activity with your family, this no-bake recipe is perfect for adding a touch of magic to your celebrations.
Ingredients
To create this delightful Reindeer Bark, you’ll need a handful of simple, easily accessible ingredients. Here’s what you’ll need:
- 1 bag (12 oz) semi-sweet chocolate chips
- 1/8 cup red and brown M&M’s
- 1 cup small pretzel twists
- White shimmer sugar
- Red and white candy cane sprinkles
- Small candy eyes
Instructions
Creating No-Bake Chocolate Reindeer Bark is not only simple but also a fun activity that can involve the entire family. Follow these easy steps to create your own batch of festive bark:
- Prepare Your Baking Sheet: Line a large baking sheet with parchment paper. This will prevent the chocolate from sticking and make it easy to remove once hardened.
- Melt the Chocolate: In a microwave-safe bowl, melt the semi-sweet chocolate chips. Set the microwave to 50% power and heat the chocolate for 3-4 minutes, stirring every 30 seconds until the mixture is smooth and fully melted.
- Spread the Chocolate: Pour the melted chocolate onto the prepared parchment paper. Use a spatula to spread it evenly across the sheet, creating a thin layer.
- Create the Antlers: Break the pretzel twists in half and arrange them on the chocolate layer to form antlers. Position them strategically so each reindeer will have a pair of antlers.
- Add the Eyes: While the chocolate is still soft, place two small candy eyes below each pair of pretzel antlers.
- Add the Noses: Place M&M’s below the candy eyes to serve as noses. Use red M&M’s for Rudolph and brown ones for the other reindeer.
- Decorate with Sprinkles: Sprinkle the white shimmer sugar and red and white candy cane sprinkles generously over the chocolate for a festive touch.
- Freeze the Bark: Place the baking sheet in the freezer for about 30 minutes, or until the chocolate has hardened completely.
- Break into Pieces: Once the chocolate is firm, break the bark into pieces along the designs. Enjoy your festive creation!
Nutrition Facts
Understanding the nutritional content of your holiday treats can help you indulge mindfully. Here’s a breakdown of the nutritional information per serving of No-Bake Chocolate Reindeer Bark:
- Calories: 150
- Total Fat: 7g
- Carbohydrates: 20g
- Protein: 2g
Note: These values may vary based on serving size and specific ingredients used.
How to Serve
No-Bake Chocolate Reindeer Bark is not just a delicious treat; it also offers a delightful visual appeal that can elevate any festive occasion. Its versatility allows it to be served in numerous creative ways, making it an ideal addition to your holiday celebrations. Here are some comprehensive suggestions on how to serve this wonderful confection:
1. As Part of a Dessert Platter
One of the most charming ways to present your No-Bake Chocolate Reindeer Bark is by arranging it on a beautifully decorated dessert platter. Here’s how to create an eye-catching display:
- Mix and Match: Combine the bark with a variety of other holiday treats such as sugar cookies, gingerbread men, fudge, peppermint bark, and chocolate-dipped pretzels. This variety will not only enhance the visual appeal but also cater to different taste preferences.
- Seasonal Touches: Consider adding seasonal elements like fresh cranberries, sprigs of holly, or edible glitter to the platter for a festive touch. You could also use a decorative tablecloth or runner that aligns with the holiday theme to make your dessert table pop.
- Serving Size: Cut the bark into uniform pieces for an elegant look. You can use cookie cutters for fun shapes, which will add an extra layer of whimsy to your display.
- Labeling: If you have a variety of treats, consider labeling them with small, decorative tags. This not only informs guests about the different options but also adds a personalized touch to your presentation.
2. Gift Bags
No-Bake Chocolate Reindeer Bark makes for a thoughtful and delightful gift. Here’s how to package it beautifully:
- Choosing the Right Packaging: Select festive gift bags, boxes, or tins that resonate with the holiday spirit. Look for designs featuring snowflakes, reindeer, or other winter motifs to complement the theme.
- Layering: If using bags, consider layering pieces of the bark with other treats like chocolate-covered nuts or popcorn for a more substantial gift. This not only adds variety but also makes for a more intriguing gift.
- Personal Touch: Include a handwritten note or a holiday card expressing your well wishes. You can also attach a small ornament or a homemade tag to give it a more personal touch.
- Sealing and Presentation: Make sure to seal your gift bags tightly to preserve freshness, and consider tying them with festive ribbons or twine for a polished look.
3. Holiday Party Favor
Transform your No-Bake Chocolate Reindeer Bark into delightful party favors that guests will love to take home:
- Individual Serving Sizes: Package small pieces of the bark in clear cellophane bags or small boxes. This allows guests to enjoy a sweet treat even after the party is over.
- Creative Labels: Personalize each favor with a label that includes the party date and a heartfelt thank-you message. You can even include a small poem or a fun fact about the bark to make it memorable.
- Display Ideas: Set up a designated favor table where guests can pick up their treats as they leave. Decorate the table with seasonal decor, such as twinkling fairy lights or pinecones, to create an inviting atmosphere.
4. Hot Chocolate Companion
Pairing your No-Bake Chocolate Reindeer Bark with hot chocolate creates a cozy, indulgent experience perfect for chilly winter nights:
- Presentation: Serve the bark on a small plate alongside a steaming mug of hot chocolate. You can enhance the hot chocolate by adding whipped cream, marshmallows, or a sprinkle of cocoa powder.
- Flavor Combinations: For a fun twist, consider creating flavored hot chocolates, such as peppermint or salted caramel. The rich chocolatey goodness of the bark will perfectly complement these flavors.
- Themed Serving: For an even more festive touch, consider serving the hot chocolate in holiday-themed mugs. You can also rim the mugs with crushed candy canes or chocolate syrup for added flair.
- Interactive Station: If hosting a gathering, set up a hot chocolate bar where guests can customize their drinks with various toppings and enjoy their bark as a fun and interactive experience.
By employing these creative serving ideas, you can ensure that your No-Bake Chocolate Reindeer Bark is not only a delicious treat but also a highlight of your holiday festivities, bringing joy and sweetness to all who celebrate with you.
Additional Tips
Enhancing your Reindeer Bark-making experience can transform a simple recipe into a delightful holiday tradition. Here are some comprehensive tips to help you perfect your bark and make the process even more enjoyable for everyone involved.
Microwave Caution: Mastering Chocolate Melting
When melting chocolate in the microwave, it’s crucial to proceed with caution to avoid seizing, which occurs when chocolate overheats and becomes grainy. To ensure a smooth melt:
- Use a Microwave-Safe Bowl: Choose a glass or ceramic bowl that is safe for microwave use. Avoid plastic, as it can retain heat and lead to uneven melting.
- Chop the Chocolate: If you’re using chocolate bars or large chunks, chop them into smaller, uniform pieces. This promotes even melting and reduces the risk of overheating.
- Heat in Intervals: Start by microwaving the chocolate for 30 seconds at a time. After each interval, remove the bowl and stir the chocolate. This helps distribute the heat and allows you to monitor the melting process closely.
- Final Melting: When the chocolate is mostly melted but still has a few solid pieces, stop microwaving and continue stirring until fully melted. The residual heat will finish the melting process without risking overcooking.
Creative Variations: Personalizing Your Bark
One of the joys of making Reindeer Bark is the opportunity to customize it to your taste and aesthetic preferences. Here are some creative variations to inspire you:
- Toppings Galore: Beyond the traditional festive sprinkles, consider adding:
- Crushed Peppermint Candies: Perfect for a minty flavor and a pop of color, simply crush peppermint candies or candy canes and sprinkle them on top.
- Chopped Nuts: Enhance the texture and flavor by adding chopped almonds, walnuts, or pecans. Toast them lightly for an added depth of flavor.
- Dried Fruits: Add a chewy element by incorporating dried cranberries, apricots, or cherries. They not only add flavor but also provide a beautiful contrast against the chocolate.
- Sea Salt: A sprinkle of flaky sea salt can elevate the sweetness of the chocolate and provide a sophisticated touch.
- Flavor Infusions: Consider flavoring your chocolate by adding a few drops of extracts, such as vanilla, almond, or even orange zest, to create a unique twist on the classic recipe.
- Layering Techniques: Experiment with layering different types of chocolate. For instance, you could create a base layer of dark chocolate topped with a layer of white chocolate, swirling them together for a marbled effect.
Storage: Keeping Your Bark Fresh
To ensure your Reindeer Bark stays fresh and delicious, proper storage is key. Here’s how to do it effectively:
- Airtight Containers: After the bark has completely cooled and set, break it into pieces and store it in an airtight container. This prevents air exposure, which can cause the chocolate to bloom (a white powdery coating that occurs when cocoa butter rises to the surface).
- Room Temperature vs. Refrigeration: Store the container in a cool, dry place at room temperature for up to a week. If you want to extend its shelf life, consider refrigerating it. However, be mindful that refrigeration can sometimes alter the texture of the chocolate.
- Freezing for Longer Storage: For even longer storage, you can freeze the bark. Wrap individual pieces in wax paper and place them in a freezer-safe bag or container. When you’re ready to enjoy, simply remove the desired amount and let it thaw at room temperature for a few minutes.
Kid-Friendly Activity: Engaging Young Chefs
Making Reindeer Bark can be a wonderful family activity, especially when involving children. Here’s how to make it more engaging for kids:
- Decorating Fun: Allow children to take the lead in the decorating process. Set out a variety of toppings and let them create their own designs. This not only encourages creativity but also gives them a sense of ownership over their creation.
- Themed Stations: Create themed decoration stations with different toppings. For example, a “Winter Wonderland” station could feature white chocolate, coconut flakes, and silver sprinkles, while a “Candy Land” station could include colorful gummies and candies.
- Educational Element: Use this opportunity to teach children about measuring ingredients, the science behind melting chocolate, and the importance of following a recipe. This can turn a fun cooking session into an educational experience.
- Gift-Making: Encourage kids to package their Reindeer Bark as gifts for friends and family. Provide decorative bags or boxes, and let them personalize the packaging with stickers or drawings. This adds a meaningful touch to their culinary creations.
By incorporating these additional tips into your Reindeer Bark-making experience, you can create a delicious treat that is not only visually appealing but also a memorable activity for you and your loved ones. Enjoy the process, and happy baking!
FAQs
Q: Can I use other types of chocolate for this recipe?
A: Absolutely! While semi-sweet chocolate chips are recommended for a balanced sweetness, you can use milk chocolate or dark chocolate chips based on your preference.
Q: What if I don’t have a microwave?
A: If you don’t have a microwave, you can melt the chocolate using a double boiler on the stovetop. Simply heat a pot of water and place a heatproof bowl with the chocolate over it, stirring until melted.
Q: Can I make this bark ahead of time?
A: Yes, you can make this bark a few days in advance. Just ensure it’s stored in an airtight container to maintain freshness.
Q: Are there alternatives to candy eyes?
A: If you can’t find candy eyes, you can use white chocolate chips or small round candies as a substitute.
Conclusion
No-Bake Chocolate Reindeer Bark is a delightful and festive treat that captures the essence of holiday fun. With its charming design and irresistible taste, it’s a hit among both kids and adults. The simple preparation and customizable nature make it a perfect addition to any holiday gathering. So, gather your ingredients, unleash your creativity, and enjoy making this whimsical holiday bark that will surely bring smiles to all who taste it. Whether enjoyed as a gift, party favor, or indulgent treat, this Reindeer Bark is bound to become a holiday tradition for years to come.


