
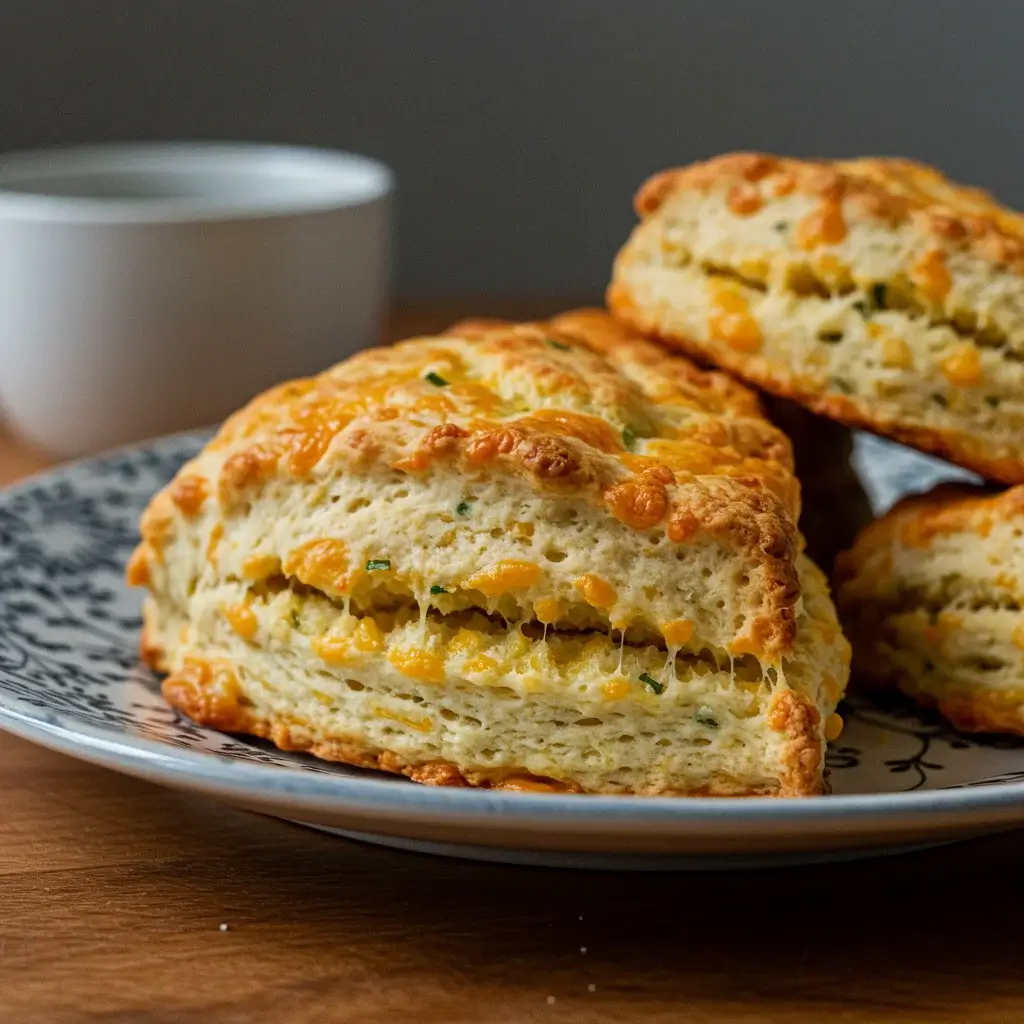

Cheese scones are a quintessential comfort food that brings warmth and flavor to any table. Imagine biting into a soft, fluffy scone, baked to perfection with cheddar cheese, a hint of mustard, and the fresh, aromatic flavor of chives. Whether you’re serving them as a snack, a side dish, or a part of a larger meal, these scones are sure to impress. In this comprehensive guide, we’ll take you through everything you need to know to make the perfect fluffy warm cheese scones at home.
Ingredients
Creating the perfect cheese scones requires a balance of quality ingredients. Here’s what you’ll need:
- 2 cups all-purpose flour
- 1 tablespoon baking powder
- 1/2 teaspoon salt
- 1/4 teaspoon black pepper
- 1/2 teaspoon mustard powder
- 1/2 cup unsalted butter, chilled and cubed
- 1 cup cheddar cheese, grated
- 2 tablespoons fresh chives, chopped
- 3/4 cup whole milk
- 1 egg (for egg wash, optional)
Instructions
Making cheese scones is a straightforward process, but attention to detail is key. Follow these steps to achieve the ultimate fluffy texture and rich flavor.
Step 1: Preheat the Oven
- Preheat your oven to 400°F (200°C). Line a baking sheet with parchment paper.
Step 2: Prepare the Dry Ingredients
- In a large mixing bowl, combine the flour, baking powder, salt, black pepper, and mustard powder. Mix well to ensure even distribution.
Step 3: Incorporate the Butter
- Add the chilled, cubed butter to the flour mixture. Use a pastry cutter or your fingers to rub the butter into the flour until the mixture resembles coarse breadcrumbs.
Step 4: Add Cheese and Chives
- Stir in the grated cheddar cheese and chopped chives, ensuring they are evenly distributed throughout the mixture.
Step 5: Form the Dough
- Gradually add the milk to the dry ingredients, mixing gently with a fork or spatula until the dough begins to come together. Be careful not to overwork the dough.
Step 6: Shape the Scones
- Turn the dough out onto a floured surface and gently knead it a few times to bring it together. Roll out the dough to about 1-inch thickness.
- Use a round cutter to shape the scones and place them on the prepared baking sheet.
Step 7: Optional Egg Wash
- For a golden finish, beat the egg and brush it lightly over the tops of the scones.
Step 8: Bake
- Bake the scones in the preheated oven for 15-20 minutes, or until they are golden brown and cooked through.
Step 9: Cool and Serve
- Allow the scones to cool on a wire rack for a few minutes before serving.
Nutrition Facts
Understanding the nutritional content of your scones can help you enjoy them responsibly. Here’s an approximate breakdown per serving (one scone):
- Calories: 220
- Total Fat: 12g
- Cholesterol: 40mg
How to Serve
Fluffy warm cheese scones are not only delightful in flavor but also incredibly versatile, making them suitable for a variety of occasions. Here’s a comprehensive guide on how to serve these delectable treats, ensuring that you maximize their potential in your culinary repertoire.
As a Snack
One of the simplest yet most satisfying ways to enjoy cheese scones is as a snack. Their warm, fluffy texture makes them a perfect companion for a range of toppings.
- With Butter or Cream Cheese: Serve them warm, straight from the oven, with a generous pat of butter that melts into the scone, enhancing its rich flavor. Alternatively, a dollop of cream cheese adds a creamy tang that complements the cheese within the scone beautifully.
- Sweet Combinations: For a twist, consider pairing your cheese scones with a fruity jam or chutney. A dollop of fig jam or onion chutney can elevate the savory notes of the cheese, providing a sweet contrast that tantalizes the taste buds.
- Beverage Pairings: Pair your scones with a steaming cup of tea or coffee for a cozy afternoon treat. A robust black tea, such as Earl Grey, complements the savory flavors, while a light-bodied coffee can provide a nice balance. Consider serving your scones with a flavored latte or herbal tea for a different experience.
As a Side Dish
Cheese scones also make an excellent side dish, providing a comforting addition to various meals.
- With Soups and Stews: Their fluffy texture is perfect for dipping into hearty soups or stews. Whether it’s a creamy tomato basil soup or a rich beef stew, the scone adds both substance and flavor, soaking up the delicious broth or sauce.
- Accompanying Salads: Pairing cheese scones with salads offers a delightful contrast. A fresh, crisp green salad with a tangy vinaigrette can be beautifully complemented by the rich, cheesy scone. You could also serve them with a grain salad, such as quinoa or farro, for a wholesome meal.
- Breakfast or Brunch Spread: Incorporating cheese scones into a breakfast or brunch spread can elevate the meal. Serve them alongside scrambled eggs, crispy bacon, or smoked salmon. Their buttery flavor pairs perfectly with eggs, and they can also be used to mop up any runny yolks, making each bite a delight.
As an Appetizer
For those looking to impress guests, cheese scones can be transformed into sophisticated appetizers that are sure to be a hit at any gathering.
- Topped with Smoked Salmon: Slice the scones in half and top them with smoked salmon and cream cheese for an elegant bite. Garnish with fresh dill or capers for an added layer of flavor. This simple yet refined combination is perfect for cocktail parties or special occasions.
- Mini Sandwiches: Use the scones as a base for mini sandwiches. Slice them horizontally and fill with various fillings such as thinly sliced ham with a touch of mustard or roasted vegetables with a spread of hummus. These sandwiches can be served at brunch or as part of a charcuterie board, providing a unique and delightful twist to traditional offerings.
- Cheese and Charcuterie Boards: Cut the scones into bite-sized pieces and include them on a cheese and charcuterie board. They pair wonderfully with a variety of cheeses, cured meats, and pickles, creating a balanced and inviting spread for guests to enjoy. Consider adding some olives and nuts for additional textures and flavors.
Conclusion
Fluffy warm cheese scones are a versatile treat that can be enjoyed in countless ways, whether as a simple snack, a comforting side dish, or an impressive appetizer. By exploring these serving suggestions, you can enhance your culinary experiences and provide delightful options for any occasion. Whether you’re hosting a brunch, enjoying a quiet afternoon, or entertaining friends, cheese scones are sure to be a crowd-pleaser. Enjoy experimenting with different toppings and pairings to discover your favorite combinations!
Additional Tips
To ensure your cheese scones turn out perfectly every time, keep these tips in mind:
Chill the Butter
Cold butter is crucial for creating a flaky texture in your scones. When butter is cold, it creates pockets of steam during baking, which contributes to the light and airy structure of the finished product. To achieve this, it’s best to take your butter straight from the refrigerator and cut it into small cubes before adding it to your dry ingredients. If you want to be extra cautious, you can even place the butter in the freezer for about 10-15 minutes before using it. Additionally, avoid handling the butter too much with your hands, as the warmth from your fingers can cause it to soften too quickly. If you find that your butter has warmed up during preparation, return the mixture to the fridge for a few minutes before proceeding.
Don’t Overmix
One of the most critical aspects of scone-making is to avoid overmixing the dough. When you overwork the dough, you activate the gluten in the flour, leading to tough and chewy scones instead of the desired tender crumb. To prevent this, mix the ingredients until they are just combined. It’s perfectly fine for the dough to be slightly lumpy—this will ensure a lighter texture. A good technique is to use a light hand with a fork or a pastry cutter to blend the ingredients, and then finish by gently folding the mixture with your hands until it comes together. If you notice any dry flour remaining, sprinkle in a little bit of milk or yogurt to help bind it without excessive mixing.
Use Fresh Ingredients
For maximum flavor, opt for freshly grated cheese and freshly chopped chives or herbs. Freshly grated cheese melts better and delivers a more robust flavor than pre-packaged shredded cheese, which often contains anti-caking agents that can affect texture. Choose a cheese that complements the scone; sharp cheddar, Gruyère, or even a tangy blue cheese can elevate your recipe significantly. Similarly, fresh herbs like chives, parsley, or dill will provide a vibrant taste that dried herbs simply cannot match. If you’re feeling adventurous, consider experimenting with different cheese varieties or herb combinations to find your perfect flavor profile.
Experiment with Flavors
Feel free to personalize your cheese scones by experimenting with additional herbs and spices. For example, a pinch of paprika can introduce a subtle warmth, while garlic powder can add a savory depth. You might also consider incorporating sun-dried tomatoes for a Mediterranean twist or olives for a briny flavor. A handful of cooked and crumbled bacon can add a delightful smokiness, or you could fold in some caramelized onions for a hint of sweetness. Just be mindful of the moisture content of any additional ingredients, as too much liquid can affect the dough’s consistency. Aim to keep the overall balance in mind, and always make adjustments to ensure your scone dough remains workable.
Mind the Baking Temperature
The baking temperature is another crucial factor in achieving perfect scones. Preheat your oven thoroughly before placing your scones inside, as a hot oven will help them rise quickly and create a desirable golden crust. Ideally, bake your cheese scones at a high temperature, around 400°F to 425°F (200°C to 220°C). This rapid heat is essential for that fluffy, flaky texture. If you’re concerned about over-browning, you can rotate the baking tray halfway through the baking time to ensure even cooking.
Let Them Rest
After cutting your scones and before baking, allow them to rest for about 10-15 minutes in the refrigerator. This chilling period helps to solidify the butter again, which aids in achieving a flakier texture. It also allows the gluten to relax, which can further enhance the tenderness of your scones. While waiting, you can prepare any toppings or accompaniments you might want to serve with your scones, such as butter, cream, or a delicious chutney.
By keeping these tips in mind, you can refine your cheese scone-making skills and achieve consistently delightful results that are perfectly flaky, flavorful, and utterly satisfying. Happy baking!
FAQs
Q: Can I freeze cheese scones?
A: Yes, cheese scones can be frozen. Allow them to cool completely, then wrap them individually in plastic wrap and place them in a freezer bag. They can be stored in the freezer for up to three months. To reheat, thaw at room temperature and warm in the oven.
Q: Can I use a different type of cheese?
A: Absolutely! While cheddar is a classic choice, you can experiment with other cheeses like Gruyère, Parmesan, or feta for different flavor profiles.
Q: Can I make these scones gluten-free?
A: Yes, you can substitute the all-purpose flour with a gluten-free flour blend. Just be sure to choose a blend that includes a binding agent like xanthan gum.
Q: How can I make my scones fluffier?
A: Ensure your baking powder is fresh, and avoid overmixing the dough. Also, baking at a high temperature helps the scones rise quickly, resulting in a fluffier texture.
Conclusion
Fluffy warm cheese scones are a delightful addition to any meal, offering comfort, flavor, and versatility. With simple ingredients and easy steps, you can create these delicious treats at home, impressing family and guests alike. Whether you’re enjoying them as a snack, a side, or an appetizer, these scones are sure to become a favorite in your culinary repertoire. So, roll up your sleeves and start baking – your taste buds will thank you!
Print
Fluffy Warm Cheese Scones
Ingredients
Creating the perfect cheese scones requires a balance of quality ingredients. Here’s what you’ll need:
- 2 cups all-purpose flour
- 1 tablespoon baking powder
- 1/2 teaspoon salt
- 1/4 teaspoon black pepper
- 1/2 teaspoon mustard powder
- 1/2 cup unsalted butter, chilled and cubed
- 1 cup cheddar cheese, grated
- 2 tablespoons fresh chives, chopped
- 3/4 cup whole milk
- 1 egg (for egg wash, optional)
Instructions
Making cheese scones is a straightforward process, but attention to detail is key. Follow these steps to achieve the ultimate fluffy texture and rich flavor.
Step 1: Preheat the Oven
- Preheat your oven to 400°F (200°C). Line a baking sheet with parchment paper.
Step 2: Prepare the Dry Ingredients
- In a large mixing bowl, combine the flour, baking powder, salt, black pepper, and mustard powder. Mix well to ensure even distribution.
Step 3: Incorporate the Butter
- Add the chilled, cubed butter to the flour mixture. Use a pastry cutter or your fingers to rub the butter into the flour until the mixture resembles coarse breadcrumbs.
Step 4: Add Cheese and Chives
- Stir in the grated cheddar cheese and chopped chives, ensuring they are evenly distributed throughout the mixture.
Step 5: Form the Dough
- Gradually add the milk to the dry ingredients, mixing gently with a fork or spatula until the dough begins to come together. Be careful not to overwork the dough.
Step 6: Shape the Scones
- Turn the dough out onto a floured surface and gently knead it a few times to bring it together. Roll out the dough to about 1-inch thickness.
- Use a round cutter to shape the scones and place them on the prepared baking sheet.
Step 7: Optional Egg Wash
- For a golden finish, beat the egg and brush it lightly over the tops of the scones.
Step 8: Bake
- Bake the scones in the preheated oven for 15-20 minutes, or until they are golden brown and cooked through.
Step 9: Cool and Serve
- Allow the scones to cool on a wire rack for a few minutes before serving.
Nutrition
- Serving Size: one normal portion
- Calories: 220
- Fat: 12g
- Cholesterol: 40mg


