
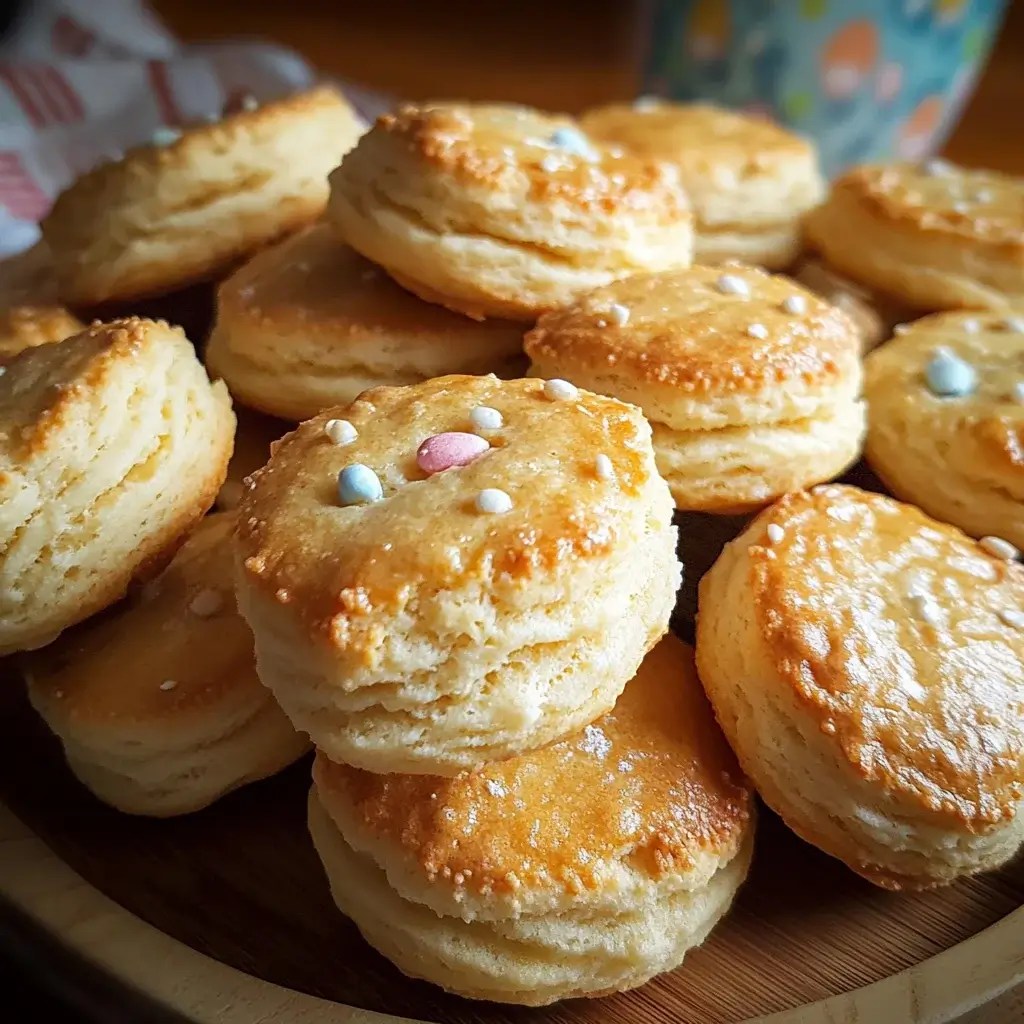

Easter at our house is synonymous with certain traditions – egg hunts, pastel decorations, and of course, the aroma of freshly baked goods wafting from the kitchen. This year, I decided to try something a little different from our usual Easter bread and opted for these Fluffy Buttermilk Easter Biscuits. Let me tell you, it was a game-changer! From the moment they emerged from the oven, golden brown and gloriously puffed, I knew we were in for a treat. The kids, usually impatient for the main Easter feast, couldn’t resist sneaking warm biscuits straight from the cooling rack, their faces smeared with melted butter and pure happiness. The texture is truly something special – incredibly light and airy, yet with a satisfyingly tender crumb thanks to the magic of buttermilk. They were the perfect accompaniment to our Easter ham, but honestly, they were just as delightful enjoyed simply with a pat of butter and a drizzle of honey. If you’re looking to add a touch of homemade goodness to your Easter celebration, or simply craving a comforting and delicious biscuit any time of year, look no further. These Fluffy Buttermilk Easter Biscuits are guaranteed to become a new family favorite.
Ingredients for Fluffy Buttermilk Easter Biscuits
- All-Purpose Flour: The foundation of our biscuits, providing structure and a light crumb.
- Baking Powder: The key leavening agent, creating that signature fluffy rise and airy texture.
- Baking Soda: Works in tandem with baking powder and buttermilk to enhance leavening and add a subtle tang.
- Salt: Enhances the flavor of the biscuits and balances the sweetness, crucial for a well-rounded taste.
- Granulated Sugar: Adds a touch of sweetness and helps with browning, creating a delicate golden crust.
- Unsalted Butter, Cold: Essential for creating flaky layers and a tender texture. Cold butter is crucial for this recipe.
- Buttermilk, Cold: The secret ingredient! Buttermilk adds moisture, tanginess, and tenderness, contributing to the signature fluffiness.
Instructions for Making Fluffy Buttermilk Easter Biscuits
- Preheat Oven and Prepare Baking Sheet: Begin by preheating your oven to 450°F (232°C). High heat is essential for achieving maximum rise and a beautifully golden crust. While the oven preheats, line a baking sheet with parchment paper. This prevents sticking and makes cleanup a breeze. Alternatively, you can lightly grease the baking sheet.
- Combine Dry Ingredients: In a large mixing bowl, whisk together the all-purpose flour, baking powder, baking soda, salt, and granulated sugar. Whisking ensures that all the dry ingredients are evenly distributed, which is important for consistent leavening and flavor throughout the biscuits. This step also helps to aerate the flour, contributing to a lighter texture.
- Cut in Cold Butter: This is perhaps the most crucial step for achieving flaky, fluffy biscuits. Take your cold, unsalted butter and cut it into small cubes. Add the cubed butter to the dry ingredients. Using a pastry blender, a fork, or your fingertips, cut the butter into the flour mixture until it resembles coarse crumbs. You should still see some small pieces of butter remaining – this is exactly what you want! These small pockets of butter will melt in the oven, creating steam and resulting in those desirable flaky layers. Work quickly to prevent the butter from getting too warm.
- Make a Well and Add Buttermilk: Create a well in the center of the dry ingredients and butter mixture. Pour in the cold buttermilk. Cold buttermilk is just as important as cold butter! The cold temperature helps to keep the butter solid and prevents gluten development, leading to a more tender biscuit.
- Gently Combine Wet and Dry Ingredients: Using a fork or spatula, gently stir the buttermilk into the dry ingredients just until a shaggy dough forms. Be careful not to overmix! Overmixing develops gluten, resulting in tough biscuits. The dough will be slightly sticky and may not look perfectly smooth – that’s perfectly fine. Resist the urge to knead the dough.
- Turn Dough Out and Pat into a Rectangle: Lightly flour a clean work surface. Turn the dough out onto the floured surface. Gently pat the dough into a rectangle that is about ¾ to 1 inch thick. Again, handle the dough gently and avoid overworking it.
- Fold Dough for Layers (Optional but Recommended): For extra flaky biscuits, perform a simple folding technique. Fold the dough in half, like a book. Then, rotate the dough 90 degrees and pat it back into a ¾ to 1-inch thick rectangle. Repeat this folding process one or two more times. This creates even more layers and contributes to a wonderfully light and flaky texture. If you’re short on time, you can skip this step and still get delicious biscuits, but the folding definitely enhances the flakiness.
- Cut Out Biscuits: Using a 2-inch biscuit cutter (or a sharp knife if you don’t have a cutter), cut out biscuits from the dough. Press straight down with the cutter – avoid twisting, as twisting can seal the edges and prevent the biscuits from rising properly. If using a knife, cut square biscuits for minimal dough wastage.
- Place Biscuits on Baking Sheet: Arrange the cut-out biscuits on the prepared baking sheet, placing them about 1 inch apart. For softer sides, space them further apart. For biscuits with softer sides and slightly higher rise, you can place them close together so they are almost touching.
- Bake to Golden Perfection: Bake in the preheated oven for 12-15 minutes, or until the biscuits are golden brown on top and cooked through. The exact baking time may vary slightly depending on your oven, so keep an eye on them.
- Cool and Serve: Once baked, remove the biscuits from the oven and let them cool on the baking sheet for a few minutes before transferring them to a wire rack to cool slightly further. They are best served warm, but are also delicious at room temperature. Serve immediately with butter, jam, honey, or your favorite toppings.
Nutrition Facts for Fluffy Buttermilk Easter Biscuits (per serving)
(Please note: Nutritional information is an estimate and can vary based on specific ingredients and serving size.)
- Serving Size: 1 biscuit (approx. 70g)
- Calories: 220
- Total Fat: 12g
- Saturated Fat: 7g
Preparation Time for Fluffy Buttermilk Easter Biscuits
- Prep Time: 20 minutes (includes ingredient gathering, mixing, and cutting biscuits)
- Cook Time: 12-15 minutes (baking in the oven)
- Total Time: Approximately 32-35 minutes
This recipe is wonderfully quick and easy, perfect for a last-minute Easter brunch addition or a comforting weekend breakfast. From start to finish, you can have warm, fluffy biscuits on your table in under 35 minutes!
How to Serve Fluffy Buttermilk Easter Biscuits
These versatile biscuits are delicious in so many ways! Here are some serving suggestions to inspire you:
- Classic Butter and Jam: The simplest and most classic way to enjoy these biscuits. Spread with softened butter and your favorite fruit jam or preserves.
- Honey and Butter: A touch of sweetness and warmth. Drizzle honey over warm biscuits spread with butter.
- Cream Cheese and Chives: For a savory twist, spread with cream cheese and sprinkle with fresh chives.
- Breakfast Sandwiches: Split warm biscuits and fill with scrambled eggs, cheese, and your favorite breakfast fillings for a hearty and satisfying breakfast sandwich.
- Biscuits and Gravy (Vegetarian Options): Serve with a creamy vegetarian gravy made from mushrooms, vegetables, or a white gravy alternative.
- Alongside Easter Ham or Roast: A perfect accompaniment to your Easter feast, these biscuits complement savory dishes beautifully.
- Strawberry Shortcakes: Split biscuits and top with fresh strawberries and whipped cream for a delightful spring dessert.
- Warm with Soup or Stew: Serve warm biscuits alongside a comforting bowl of soup or stew for a complete and satisfying meal.
Additional Tips for Perfect Fluffy Buttermilk Easter Biscuits
Keep Ingredients Cold
The secret to achieving irresistibly flaky biscuits lies in the temperature of your ingredients. Cold butter and buttermilk are essential; they create the steam needed for those delicious layers. When butter is cold, it remains solid while baking, releasing steam and causing the biscuit layers to separate. To ensure your butter is cold enough, consider cutting it into small cubes and placing it in the freezer for about 15 minutes before use. For buttermilk, you can even chill it in the refrigerator overnight. Remember, the colder the ingredients, the better the texture of your biscuits.
Don’t Overmix the Dough
When it comes to mixing your biscuit dough, less is definitely more. Overmixing can develop gluten, which is great for bread but disastrous for biscuits. Aim to mix the dough just until the dry ingredients are moistened, resulting in a shaggy, slightly sticky dough. This gentle mixing technique allows you to maintain a tender texture in your biscuits. If you find your dough is a bit too sticky to handle, don’t panic! Lightly flour your hands and the work surface to help manage the stickiness without overworking the dough.
Use Fresh Baking Powder and Baking Soda
The effectiveness of your leavening agents directly impacts the rise of your biscuits. Always check the expiration dates on your baking powder and baking soda; old leavening agents can lead to flat, dense biscuits. To test baking powder, mix a teaspoon with a bit of hot water; it should fizz vigorously if it’s still good. For baking soda, combine it with vinegar or lemon juice; a strong reaction indicates freshness. Incorporating fresh leavening agents not only ensures a good rise but also contributes to the overall flavor of your biscuits.
Handle Dough Gently
When it comes to shaping your biscuit dough, gentleness is key. After mixing, transfer the dough to a lightly floured surface, and instead of aggressively kneading, use your fingertips to pat it into a rectangle. This gentle handling prevents the development of gluten, preserving the lightness and fluffiness that you desire in your biscuits. If you need to gather the dough to form it again, do so with light hands, incorporating flour only as necessary to prevent sticking.
Don’t Twist the Cutter
A common mistake when cutting out biscuits is twisting the cutter as you press down. This can seal the edges of the dough, preventing the biscuits from rising properly. Instead, press straight down with your biscuit cutter, then lift it straight up. If you find the dough is sticking to the cutter, dip it in flour before each cut. This technique will help ensure that each biscuit can rise to its full potential, resulting in a tall and airy finished product.
Bake at High Heat
Baking your biscuits at a high temperature is crucial for achieving that perfect rise and golden crust. Preheat your oven to at least 425°F (220°C) to create an environment that allows the biscuits to puff up quickly. If your oven tends to run hot, you may need to adjust the temperature slightly, but avoid going below 400°F (200°C). This high heat creates a crisp exterior while maintaining a soft and fluffy interior, ensuring your biscuits are the highlight of your Easter brunch.
Don’t Overbake
Overbaking can turn what should be light, fluffy biscuits into dry, crumbly disappointments. Keep a close eye on your biscuits as they approach the end of the baking time. They should be golden brown on top and firm to the touch, yet still soft in the center. A good rule of thumb is to start checking them a couple of minutes before the recommended baking time. Once they reach that perfect golden hue, remove them from the oven and let them cool slightly on a wire rack to maintain their texture.
Experiment with Flavors
Once you feel confident with the basic buttermilk biscuit recipe, don’t hesitate to get creative! Consider adding shredded cheese for a savory twist—cheddar or gouda can elevate your biscuits to a whole new level. Fresh or dried herbs like rosemary, thyme, or chives can infuse delightful flavors. For a sweeter variation, try folding in a sprinkle of cinnamon sugar or incorporating dried fruits like cranberries or blueberries. The versatility of buttermilk biscuits allows you to tailor them to fit any occasion or personal taste, making them a delightful staple for your Easter celebration and beyond.
By following these detailed tips and techniques, you can ensure that your fluffy buttermilk Easter biscuits are not only delicious but also a show-stopping addition to your holiday spread. Happy baking!
Frequently Asked Questions (FAQ) about Fluffy Buttermilk Easter Biscuits
Q1: Can I use regular milk instead of buttermilk?
A: While buttermilk is highly recommended for its flavor and texture, you can substitute it in a pinch. To make a buttermilk substitute, add 1 tablespoon of lemon juice or white vinegar to 1 cup of regular milk. Let it sit for 5 minutes to curdle slightly before using. However, the biscuits may not be quite as tender or tangy as with real buttermilk.
Q2: Can I use salted butter instead of unsalted butter?
A: Yes, you can use salted butter. If using salted butter, reduce the amount of salt in the recipe by about ¼ teaspoon.
Q3: Can I make these biscuits ahead of time?
A: Biscuits are best enjoyed fresh from the oven. However, you can prepare the dough ahead of time and store it in the refrigerator, tightly wrapped, for up to 24 hours. Bake as directed when ready to serve. You can also bake the biscuits ahead and reheat them gently in a low oven (300°F/150°C) for about 10-15 minutes before serving.
Q4: My biscuits are flat and dense, what did I do wrong?
A: Flat biscuits are often caused by using warm butter or overmixing the dough. Ensure your butter and buttermilk are cold and mix the dough just until combined. Also, make sure your baking powder and baking soda are fresh.
Q5: Can I freeze leftover biscuits?
A: Yes, you can freeze baked biscuits. Let them cool completely, then wrap them individually in plastic wrap and place them in a freezer bag. Freeze for up to 2 months. To reheat, bake directly from frozen in a 350°F (175°C) oven for about 15-20 minutes, or until heated through.
Q6: What if I don’t have a biscuit cutter?
A: If you don’t have a biscuit cutter, you can use a sharp knife to cut square biscuits. Simply pat the dough into a rectangle and cut into squares. You can also use a cookie cutter of any shape you like, or even the rim of a drinking glass.
Q7: Can I add cheese to these biscuits?
A: Absolutely! For cheesy biscuits, add about ½ cup of shredded cheddar cheese (or your favorite cheese) to the dry ingredients before adding the buttermilk.
Q8: How do I get my biscuits to rise higher?
A: To maximize the rise of your biscuits, ensure you use cold ingredients, don’t overmix the dough, bake at a high temperature, and avoid twisting the biscuit cutter. The folding technique also contributes to a higher rise and flakier texture.
Print
Fluffy Buttermilk Easter Biscuits
Ingredients
- All-Purpose Flour: The foundation of our biscuits, providing structure and a light crumb.
- Baking Powder: The key leavening agent, creating that signature fluffy rise and airy texture.
- Baking Soda: Works in tandem with baking powder and buttermilk to enhance leavening and add a subtle tang.
- Salt: Enhances the flavor of the biscuits and balances the sweetness, crucial for a well-rounded taste.
- Granulated Sugar: Adds a touch of sweetness and helps with browning, creating a delicate golden crust.
- Unsalted Butter, Cold: Essential for creating flaky layers and a tender texture. Cold butter is crucial for this recipe.
- Buttermilk, Cold: The secret ingredient! Buttermilk adds moisture, tanginess, and tenderness, contributing to the signature fluffiness.
Instructions
- Preheat Oven and Prepare Baking Sheet: Begin by preheating your oven to 450°F (232°C). High heat is essential for achieving maximum rise and a beautifully golden crust. While the oven preheats, line a baking sheet with parchment paper. This prevents sticking and makes cleanup a breeze. Alternatively, you can lightly grease the baking sheet.
- Combine Dry Ingredients: In a large mixing bowl, whisk together the all-purpose flour, baking powder, baking soda, salt, and granulated sugar. Whisking ensures that all the dry ingredients are evenly distributed, which is important for consistent leavening and flavor throughout the biscuits. This step also helps to aerate the flour, contributing to a lighter texture.
- Cut in Cold Butter: This is perhaps the most crucial step for achieving flaky, fluffy biscuits. Take your cold, unsalted butter and cut it into small cubes. Add the cubed butter to the dry ingredients. Using a pastry blender, a fork, or your fingertips, cut the butter into the flour mixture until it resembles coarse crumbs. You should still see some small pieces of butter remaining – this is exactly what you want! These small pockets of butter will melt in the oven, creating steam and resulting in those desirable flaky layers. Work quickly to prevent the butter from getting too warm.
- Make a Well and Add Buttermilk: Create a well in the center of the dry ingredients and butter mixture. Pour in the cold buttermilk. Cold buttermilk is just as important as cold butter! The cold temperature helps to keep the butter solid and prevents gluten development, leading to a more tender biscuit.
- Gently Combine Wet and Dry Ingredients: Using a fork or spatula, gently stir the buttermilk into the dry ingredients just until a shaggy dough forms. Be careful not to overmix! Overmixing develops gluten, resulting in tough biscuits. The dough will be slightly sticky and may not look perfectly smooth – that’s perfectly fine. Resist the urge to knead the dough.
- Turn Dough Out and Pat into a Rectangle: Lightly flour a clean work surface. Turn the dough out onto the floured surface. Gently pat the dough into a rectangle that is about ¾ to 1 inch thick. Again, handle the dough gently and avoid overworking it.
- Fold Dough for Layers (Optional but Recommended): For extra flaky biscuits, perform a simple folding technique. Fold the dough in half, like a book. Then, rotate the dough 90 degrees and pat it back into a ¾ to 1-inch thick rectangle. Repeat this folding process one or two more times. This creates even more layers and contributes to a wonderfully light and flaky texture. If you’re short on time, you can skip this step and still get delicious biscuits, but the folding definitely enhances the flakiness.
- Cut Out Biscuits: Using a 2-inch biscuit cutter (or a sharp knife if you don’t have a cutter), cut out biscuits from the dough. Press straight down with the cutter – avoid twisting, as twisting can seal the edges and prevent the biscuits from rising properly. If using a knife, cut square biscuits for minimal dough wastage.
- Place Biscuits on Baking Sheet: Arrange the cut-out biscuits on the prepared baking sheet, placing them about 1 inch apart. For softer sides, space them further apart. For biscuits with softer sides and slightly higher rise, you can place them close together so they are almost touching.
- Bake to Golden Perfection: Bake in the preheated oven for 12-15 minutes, or until the biscuits are golden brown on top and cooked through. The exact baking time may vary slightly depending on your oven, so keep an eye on them.
- Cool and Serve: Once baked, remove the biscuits from the oven and let them cool on the baking sheet for a few minutes before transferring them to a wire rack to cool slightly further. They are best served warm, but are also delicious at room temperature. Serve immediately with butter, jam, honey, or your favorite toppings.
Nutrition
- Serving Size: one normal portion
- Calories: 220
- Fat: 12g
- Saturated Fat: 7g


