
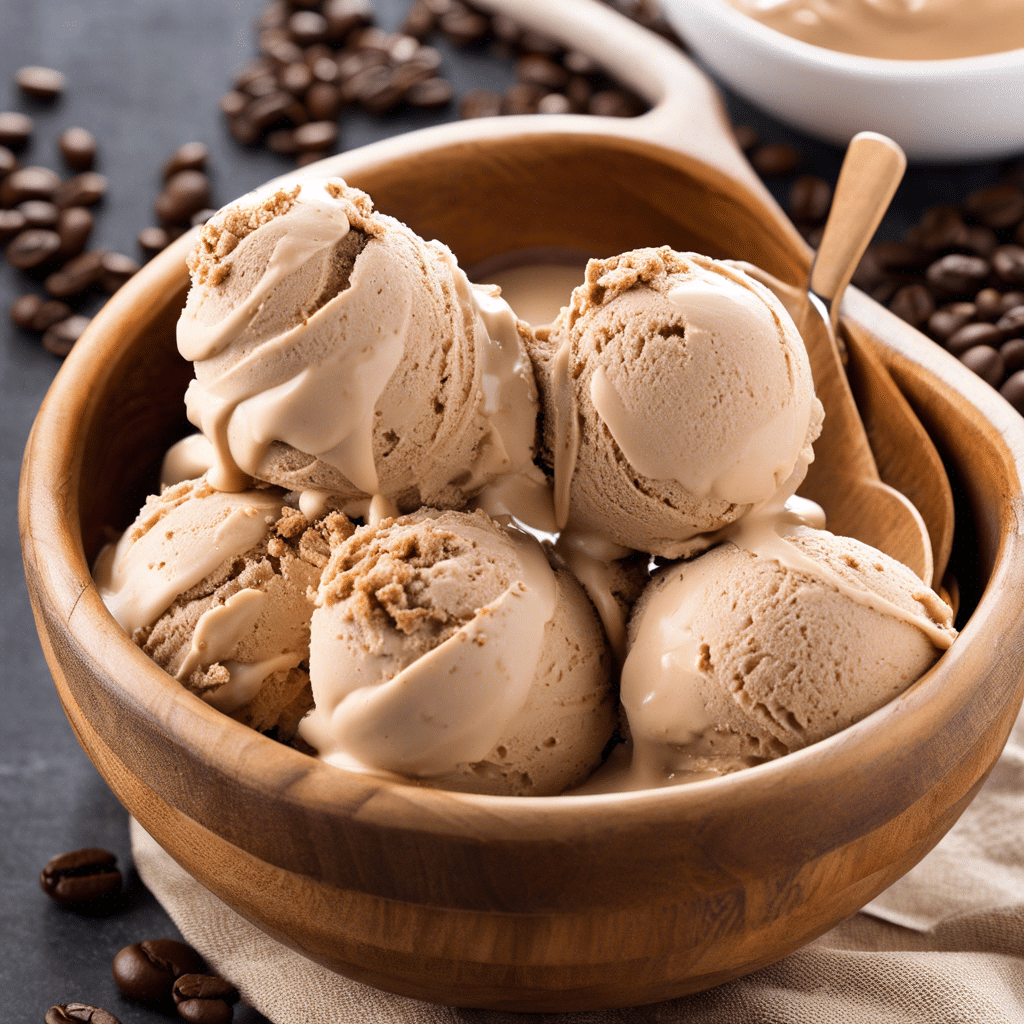

There’s something undeniably luxurious about indulging in a creamy, homemade ice cream on a warm afternoon. Coffee ice cream, in particular, is a decadent treat that combines the rich, robust flavors of your favorite brew with the soothing, smooth texture of a classic dessert. While many recipes call for a splash of alcohol to enhance the flavor or to keep the ice cream from freezing too solidly, this recipe proves that you can create a delicious, creamy coffee ice cream without any alcohol. In our household, this has become a favorite, even among those who aren’t usually coffee lovers. It’s a hit with everyone, from kids to adults, and serves as a delightful end to any meal or a sweet snack in the middle of the day.
Ingredients
The magic of this homemade coffee ice cream lies in its simplicity and the choice of fresh, quality ingredients. Here’s what you’ll need:
- 2 cups heavy cream
- 1 cup whole milk
- 3/4 cup granulated sugar
- 1 tablespoon instant coffee granules
- 1 tablespoon vanilla extract
- Pinch of salt
Each ingredient plays a crucial role in ensuring the final product is creamy, flavorful, and satisfying. The heavy cream and whole milk provide the rich, velvety base. The sugar adds a touch of sweetness to balance the coffee’s natural bitterness. Instant coffee granules are used for their ease of incorporation and intense flavor, while vanilla extract adds depth and a hint of sweetness. A pinch of salt enhances all the flavors, making each bite more pronounced and delicious.
Instructions
Creating this coffee ice cream involves a few straightforward steps, requiring minimal effort but yielding maximum flavor and texture:
- Mix the Base: In a medium saucepan, combine the heavy cream, whole milk, and sugar. Stir over medium heat until the sugar is completely dissolved. This should take about 3-5 minutes.
- Add the Coffee: Once the sugar has dissolved, remove the saucepan from the heat. Add the instant coffee granules, vanilla extract, and a pinch of salt. Stir until the coffee is fully dissolved and the mixture is smooth.
- Chill the Mixture: Pour the coffee mixture into a bowl and cover it with plastic wrap. Refrigerate for at least 2 hours, or until the mixture is thoroughly chilled. This chilling process is crucial as it helps the ice cream churn more effectively.
- Churn the Ice Cream: Once chilled, pour the mixture into an ice cream maker and churn according to the manufacturer’s instructions. This usually takes about 20-25 minutes.
- Freeze Until Firm: Transfer the churned ice cream into an airtight container. Freeze for at least 4 hours or until firm. This will allow the flavors to develop fully and the texture to be just right.
Nutrition Facts
This recipe makes approximately 6 servings, with each serving containing about 250 calories. The calorie count can vary slightly depending on the specific brands of ingredients used. This makes it a relatively low-calorie treat compared to commercial ice creams, allowing you to indulge without guilt.
Preparation Time
From start to finish, preparing this coffee ice cream will take around 6 hours. This includes about 20-25 minutes for churning and at least 4 hours for freezing. While the process does require some waiting time, most of it is hands-off, allowing you to go about your day while the ice cream sets in the freezer.
How to Serve
Once your coffee ice cream is ready, consider these serving suggestions:
- Serve in a classic waffle cone for a nostalgic touch.
- Pair with a warm brownie or slice of chocolate cake for a decadent dessert.
- Top with chocolate shavings or a drizzle of caramel sauce for added sweetness.
- Add a scoop to your morning coffee for an indulgent affogato.
- Enjoy on its own, savoring the simple, rich flavors.
Additional Tips
To ensure your homemade coffee ice cream turns out perfectly every time, keep these tips in mind:
- Use Fresh Ingredients: Opt for fresh cream and milk for the best texture and flavor.
- Chill Thoroughly: Ensure the mixture is well-chilled before churning to achieve the creamiest consistency.
- Experiment with Flavors: Try adding a teaspoon of cinnamon or cardamom for a spiced twist.
- Storage: Store the ice cream in an airtight container with a piece of parchment paper pressed on top to prevent ice crystals.
- Serving Tip: Let the ice cream sit at room temperature for a few minutes before scooping for easier serving.
FAQ Section
Here are some common questions often asked about making coffee ice cream:
- Can I use decaffeinated coffee granules? Yes, you can substitute decaf coffee granules if you prefer a caffeine-free version without compromising on flavor.
- What if I don’t have an ice cream maker? You can pour the mixture into a shallow dish, freeze, and stir every 30 minutes until set, though the texture may be less creamy.
- Can I add mix-ins? Definitely! Consider folding in chocolate chips or crushed nuts before the final freeze for added texture.
- How long does homemade ice cream last? It can last up to two weeks in the freezer, but it’s best enjoyed within the first week for optimal flavor and texture.
- Can I make this vegan? Substitute the heavy cream and milk with full-fat coconut milk or almond milk for a vegan-friendly version.
Ultimately, this coffee ice cream recipe is a testament to the joys of homemade treats. With its rich, creamy texture and bold coffee flavor, it’s sure to become a staple in your dessert repertoire. Whether you’re a seasoned ice cream maker or a novice looking to try something new, this recipe offers a straightforward path to a delicious, homemade indulgence.


