
The aroma wafting from the kitchen as this fudge sets is pure childhood nostalgia. My family, especially the little ones, are absolutely obsessed with this 3-Ingredient Peanut Butter Fudge. It’s become our go-to treat for everything from impromptu movie nights to celebratory desserts. What I love most is its sheer simplicity – three ingredients, minimal effort, and maximum flavor. Honestly, even the most novice baker can whip this up in minutes, and the result is a rich, creamy, melt-in-your-mouth fudge that rivals anything you’d find in a fancy confectionery. It’s the perfect balance of sweet and nutty, and the texture is just divine. If you’re looking for a foolproof dessert that’s guaranteed to impress, look no further. This peanut butter fudge is a true winner.
Ingredients for 3-Ingredient Peanut Butter Fudge
- Creamy Peanut Butter (2 cups): The star of the show! Opt for a smooth, no-stir variety for the best texture and easiest mixing. You can use natural peanut butter, but be sure it’s well-stirred and doesn’t have excessive oil separation for a consistent fudge.
- Sweetened Condensed Milk (1 can, 14 ounces): This magical ingredient provides sweetness and creaminess, binding everything together without the need for cooking sugar. Make sure it’s sweetened condensed milk, not evaporated milk.
- Vanilla Extract (1 teaspoon): A touch of vanilla enhances the peanut butter flavor and adds a subtle warmth to the fudge. Pure vanilla extract is recommended for the best flavor, but imitation vanilla will also work in a pinch.
Instructions: How to Make 3-Ingredient Peanut Butter Fudge
- Prepare Your Pan: Line an 8×8 inch square baking pan with parchment paper, leaving an overhang on the sides. This will make it incredibly easy to lift the fudge out of the pan once it’s set and cut it into perfect squares. The parchment paper prevents sticking and ensures clean removal.
- Combine Peanut Butter and Condensed Milk: In a large, microwave-safe bowl, pour in the 2 cups of creamy peanut butter and the entire can (14 ounces) of sweetened condensed milk. Ensure all the peanut butter is scraped out of the measuring cup and all the condensed milk is out of the can to maintain the correct ingredient ratios for optimal fudge texture.
- Microwave to Melt: Place the bowl in the microwave and heat on high power for 1 minute. After 1 minute, remove the bowl and stir the mixture thoroughly with a sturdy spatula or spoon. The mixture will likely still be quite thick at this point.
- Continue Microwaving in Short Intervals: Return the bowl to the microwave and heat in 30-second intervals, stirring well after each interval. Continue this process until the peanut butter and condensed milk are completely melted and the mixture is smooth and easily stirrable. This usually takes another 1-2 intervals, depending on your microwave’s power. Be careful not to overheat, as this can make the fudge grainy. The goal is to melt everything just until it’s smooth and combined.
- Stir in Vanilla Extract: Once the mixture is smooth and melted, add the 1 teaspoon of vanilla extract. Stir it in quickly and thoroughly until it’s evenly distributed throughout the fudge mixture. The vanilla extract is added last to preserve its flavor, as excessive heat can diminish its aroma.
- Pour into Prepared Pan: Pour the hot fudge mixture into the parchment-lined baking pan. Use a spatula to spread the fudge evenly across the bottom of the pan, ensuring it reaches all corners and has a smooth, level surface. This will ensure uniform thickness and even setting of the fudge.
- Chill to Set: Place the pan of fudge in the refrigerator. Refrigerate for at least 2-3 hours, or preferably overnight, to allow the fudge to set completely. The chilling process is crucial for the fudge to firm up to the perfect, sliceable consistency. Resist the temptation to cut into it too soon!
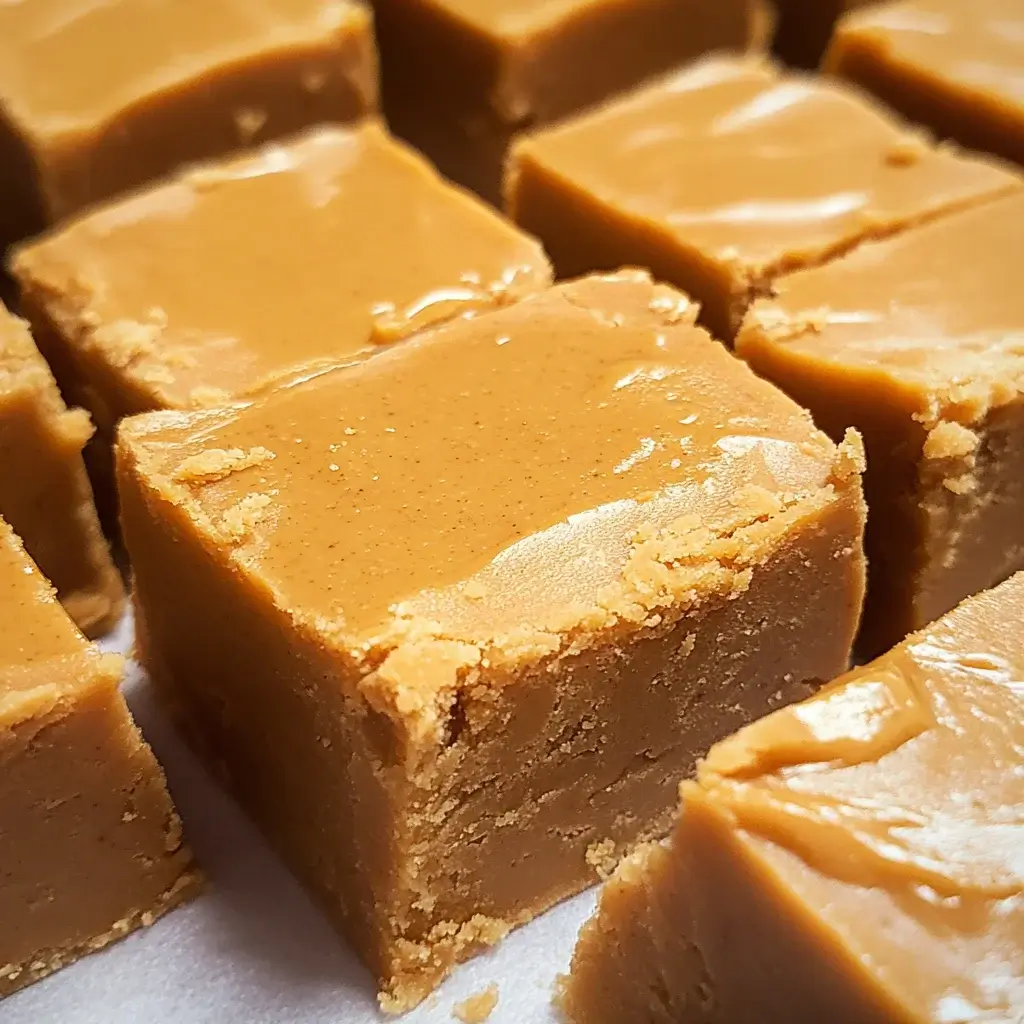
- Cut and Serve: Once the fudge is firm, lift it out of the pan using the parchment paper overhang. Place the fudge on a cutting board and use a sharp knife to cut it into squares. For neat, clean cuts, you can run the knife under hot water and wipe it dry between slices. Cut into desired square sizes – smaller squares for a bite-sized treat, or larger squares for a more decadent dessert.
- Store Properly: Store leftover peanut butter fudge in an airtight container in the refrigerator. It will keep well for up to a week, or even longer in the freezer. Keeping it refrigerated will maintain its firm texture and prevent it from becoming too soft. For longer storage, freezing is an excellent option.
Nutrition Facts for 3-Ingredient Peanut Butter Fudge
(Per Serving, approximately 16 servings per 8×8 inch pan. Nutritional values are estimates and can vary based on specific ingredient brands and portion sizes.)
- Serving Size: 1 square (approximately 2 inches x 2 inches)
- Calories: Approximately 220-250 kcal
- Fat: 14-17g
(Note: These are estimated values. For precise nutritional information, use a nutrition calculator with the specific brands of ingredients you use.)
Preparation Time for 3-Ingredient Peanut Butter Fudge
- Prep Time: 5 minutes (This includes gathering ingredients, lining the pan, and initial mixing.)
- Cook Time: 2-4 minutes (Microwaving time, depending on microwave power and intervals.)
- Chill Time: 2-3 hours minimum (Ideally overnight for best results and firmest texture.)
- Total Time: Approximately 2 hours 7 minutes to 3 hours 9 minutes (Excluding overnight chill if chosen)
This recipe is incredibly quick to prepare, with the majority of the time spent chilling in the refrigerator to achieve the perfect fudge consistency. The active time in the kitchen is minimal, making it ideal for when you need a fast and delicious dessert.
How to Serve 3-Ingredient Peanut Butter Fudge
This versatile fudge can be served in numerous delightful ways:
- Classic Dessert Squares: Simply cut the fudge into neat squares and serve as is. This is perfect for parties, potlucks, or a sweet treat after dinner.
- With a Glass of Milk: Pair a square of fudge with a cold glass of milk (dairy or non-dairy) for a comforting and classic combination. The richness of the fudge is beautifully balanced by the coolness of the milk.
- Alongside Coffee or Tea: Serve small squares of fudge with a cup of hot coffee or tea. The warmth of the beverage complements the rich, sweet flavor of the fudge.
- As Part of a Dessert Platter: Include peanut butter fudge on a dessert platter alongside other treats like cookies, brownies, and fruit. It adds variety and peanut butter lovers will flock to it!
- Topped with Sea Salt: Sprinkle a pinch of flaky sea salt on top of each fudge square just before serving. The salt enhances the sweetness and peanut butter flavor, creating a delightful salty-sweet contrast.
- Drizzled with Chocolate: Melt some dark or milk chocolate and drizzle it over the fudge squares for an extra layer of indulgence. The chocolate pairs wonderfully with peanut butter.
- With Ice Cream: Crumble peanut butter fudge and sprinkle it over vanilla or chocolate ice cream for a decadent sundae topping. The chewy fudge adds a delightful texture contrast to the smooth ice cream.
- Gift Wrapped: Cut the fudge into squares, arrange them in a decorative box or tin, and wrap it up as a homemade gift for friends, family, or neighbors. It’s a thoughtful and delicious present.
Additional Tips for Perfect 3-Ingredient Peanut Butter Fudge
- Use Good Quality Peanut Butter: The flavor of the peanut butter really shines through in this recipe, so choose a brand you love. Creamy, no-stir peanut butter is recommended for the smoothest texture, but you can experiment with different types.
- Don’t Overheat the Mixture: Microwaving in short intervals and stirring frequently is key to preventing the fudge from becoming grainy or seizing. Heat just until the ingredients are melted and smooth.
- Line the Pan Properly: Parchment paper is essential for easy removal. Make sure it extends over the edges of the pan to create handles for lifting the fudge out cleanly.
- Smooth the Top Evenly: Use a spatula to spread the fudge evenly in the pan. A smooth, level top not only looks nicer but also ensures even setting and consistent square sizes when you cut it.
- Chill Thoroughly: Don’t rush the chilling process. Allow the fudge to chill for at least 2-3 hours, or preferably overnight, to achieve the desired firm texture. Patience is key for perfect fudge!
- Cut with a Warm Knife: For clean, even cuts, run a sharp knife under hot water and wipe it dry between slices. This helps the knife glide through the fudge smoothly without sticking or tearing.
- Get Creative with Toppings: While delicious as is, you can easily customize your fudge with toppings. Consider adding chopped nuts, mini chocolate chips, sprinkles, toffee bits, or a drizzle of caramel before chilling.
- Experiment with Flavored Extracts: While vanilla is classic, try other extracts like almond extract, maple extract, or even a touch of peppermint extract for a different flavor profile. Just be mindful of the intensity of extracts and start with a smaller amount.
Frequently Asked Questions (FAQ) about 3-Ingredient Peanut Butter Fudge
Q1: Can I use natural peanut butter for this recipe?
A: Yes, you can use natural peanut butter, but make sure it is well-stirred and doesn’t have excessive oil separation. The consistency of natural peanut butter can vary, so you might need to adjust the microwave time slightly. If your natural peanut butter is very oily, you might want to drain off some of the excess oil before using it for the best fudge texture.
Q2: Can I use crunchy peanut butter instead of creamy?
A: Yes, you can use crunchy peanut butter if you prefer a fudge with a bit of texture. The process remains the same. The crunchy peanut butter will add small pieces of peanuts throughout the fudge, giving it a different mouthfeel.
Q3: Can I make this fudge without a microwave?
A: While the microwave method is the quickest, you can also melt the peanut butter and condensed milk in a double boiler or a heatproof bowl set over a saucepan of simmering water. Stir constantly until melted and smooth. This method will take longer but works just as well.
Q4: My fudge is too soft, what did I do wrong?
A: The most common reason for soft fudge is not chilling it for long enough. Ensure you chill the fudge for at least 2-3 hours, or preferably overnight. If it’s still too soft after sufficient chilling, you may have slightly overheated the mixture during microwaving or used a peanut butter with a higher oil content. In the future, be careful not to overheat and consider using a less oily peanut butter. You can try returning the fudge to the refrigerator for longer to see if it firms up further.
Q5: How long does this fudge last?
A: Properly stored in an airtight container in the refrigerator, 3-Ingredient Peanut Butter Fudge will last for up to a week. For longer storage, you can freeze it for up to 2-3 months. Thaw frozen fudge in the refrigerator before serving.
Q6: Can I add chocolate chips to this fudge?
A: Absolutely! Mini chocolate chips, semi-sweet, milk, or dark chocolate chips can be stirred into the fudge mixture after melting and before pouring it into the pan. You can also sprinkle chocolate chips on top of the fudge before it chills.
Q7: Can I make this fudge vegan?
A: Unfortunately, sweetened condensed milk is a dairy product and a key ingredient in this recipe. There are vegan condensed milk alternatives available made from coconut or other plant-based milks. While you could try substituting a vegan condensed milk, it might alter the texture and flavor of the fudge, and it might require some experimentation to get the consistency right.
Q8: Can I double or triple this recipe?
A: Yes, you can easily double or triple this recipe. Simply multiply the ingredient quantities accordingly and use a larger baking pan. For a doubled recipe, a 9×13 inch pan would work well. For a tripled recipe, you might need to use two 9×13 inch pans or a very large sheet pan, depending on the desired thickness of the fudge. Microwave times might need to be slightly increased for larger batches, but still use short intervals and stir frequently to prevent overheating.
Print
3-Ingredient Peanut Butter Fudge
Ingredients
- Creamy Peanut Butter (2 cups): The star of the show! Opt for a smooth, no-stir variety for the best texture and easiest mixing. You can use natural peanut butter, but be sure it’s well-stirred and doesn’t have excessive oil separation for a consistent fudge.
- Sweetened Condensed Milk (1 can, 14 ounces): This magical ingredient provides sweetness and creaminess, binding everything together without the need for cooking sugar. Make sure it’s sweetened condensed milk, not evaporated milk.
- Vanilla Extract (1 teaspoon): A touch of vanilla enhances the peanut butter flavor and adds a subtle warmth to the fudge. Pure vanilla extract is recommended for the best flavor, but imitation vanilla will also work in a pinch.
Instructions
- Prepare Your Pan: Line an 8×8 inch square baking pan with parchment paper, leaving an overhang on the sides. This will make it incredibly easy to lift the fudge out of the pan once it’s set and cut it into perfect squares. The parchment paper prevents sticking and ensures clean removal.
- Combine Peanut Butter and Condensed Milk: In a large, microwave-safe bowl, pour in the 2 cups of creamy peanut butter and the entire can (14 ounces) of sweetened condensed milk. Ensure all the peanut butter is scraped out of the measuring cup and all the condensed milk is out of the can to maintain the correct ingredient ratios for optimal fudge texture.
- Microwave to Melt: Place the bowl in the microwave and heat on high power for 1 minute. After 1 minute, remove the bowl and stir the mixture thoroughly with a sturdy spatula or spoon. The mixture will likely still be quite thick at this point.
- Continue Microwaving in Short Intervals: Return the bowl to the microwave and heat in 30-second intervals, stirring well after each interval. Continue this process until the peanut butter and condensed milk are completely melted and the mixture is smooth and easily stirrable. This usually takes another 1-2 intervals, depending on your microwave’s power. Be careful not to overheat, as this can make the fudge grainy. The goal is to melt everything just until it’s smooth and combined.
- Stir in Vanilla Extract: Once the mixture is smooth and melted, add the 1 teaspoon of vanilla extract. Stir it in quickly and thoroughly until it’s evenly distributed throughout the fudge mixture. The vanilla extract is added last to preserve its flavor, as excessive heat can diminish its aroma.
- Pour into Prepared Pan: Pour the hot fudge mixture into the parchment-lined baking pan. Use a spatula to spread the fudge evenly across the bottom of the pan, ensuring it reaches all corners and has a smooth, level surface. This will ensure uniform thickness and even setting of the fudge.
- Chill to Set: Place the pan of fudge in the refrigerator. Refrigerate for at least 2-3 hours, or preferably overnight, to allow the fudge to set completely. The chilling process is crucial for the fudge to firm up to the perfect, sliceable consistency. Resist the temptation to cut into it too soon!
- Cut and Serve: Once the fudge is firm, lift it out of the pan using the parchment paper overhang. Place the fudge on a cutting board and use a sharp knife to cut it into squares. For neat, clean cuts, you can run the knife under hot water and wipe it dry between slices. Cut into desired square sizes – smaller squares for a bite-sized treat, or larger squares for a more decadent dessert.
- Store Properly: Store leftover peanut butter fudge in an airtight container in the refrigerator. It will keep well for up to a week, or even longer in the freezer. Keeping it refrigerated will maintain its firm texture and prevent it from becoming too soft. For longer storage, freezing is an excellent option.
Nutrition
- Serving Size: one normal portion
- Calories: 250
- Fat: 17g